Mastering the Onion: Food Network's Essential Tips for Tear-Free Chopping
The humble onion is the cornerstone of countless culinary masterpieces, from rich stews and aromatic curries to vibrant salads and sizzling stir-fries. Yet, for many home cooks, the mere thought of chopping an onion conjures images of stinging eyes and uncontrollable tears. It's a universal kitchen struggle, but one that Food Network chefs have tackled head-on. If you're ready to learn how to cut an onion like a pro – quickly, efficiently, and most importantly, without the waterworks – you've come to the right place. We'll dive into the best Food Network Kitchen-tested techniques, dispelling common myths and equipping you with the skills to conquer this essential ingredient.
Food Network's Secrets to Tear-Free Onion Chopping
The internet is awash with quirky tips to avoid onion tears, from lighting candles to chewing gum. Most of them, frankly, don't pass the test. After extensive kitchen trials, the experts at Food Network have identified two remarkably simple and effective methods that consistently work. Say goodbye to stinging eyes and hello to comfortable chopping!
Method 1: The Power of a Razor-Sharp Knife
This might seem intuitive, but its impact on tear prevention is profound. A truly sharp knife isn't just about making your job easier and faster; it's about minimizing the release of the dreaded tear-causing enzyme. When you cut into an onion, you rupture its cells. These cells contain sulfur compounds and enzymes that, when mixed, create a volatile gas called propanethial S-oxide. This gas irritates your eyes, triggering tears.
- Why it works: A sharp blade glides through the onion cells cleanly, making precise cuts that rupture fewer cells. This means less of the irritating enzyme is released into the air. In contrast, a dull knife smashes and bruises the cells, causing widespread damage and a much greater emission of the gas.
- Practical Tip: Invest in a good quality chef's knife and learn how to keep it sharp. Regular honing with a steel and occasional sharpening are key. A sharp knife is also a safer knife, as it requires less force to cut, reducing the chance of slips.
Method 2: Chilling Out with a Frozen Onion
This method is surprisingly effective and doesn't compromise the onion's flavor or texture for most applications. Placing your onion in the freezer for a short period before cutting significantly reduces the release of those irritating compounds.
- Why it works: Lowering the onion's temperature slows down the chemical reaction that produces propanethial S-oxide. The cold also slightly dulls the volatile compounds, making them less reactive when the cells are cut.
- Practical Tip: Pop your whole, unpeeled onion into the freezer for about 10-15 minutes before you plan to chop it. This is enough time to chill the outer layers without freezing the entire onion solid, which would make it difficult to cut. Just remember to pull it out before it becomes an ice block!
By incorporating these two simple yet powerful techniques, your experience of how to cut an onion will be transformed from a tearful ordeal into a much more pleasant task. Now, let's move on to the practical steps of preparing your onion for various culinary uses.
Mastering the Onion Peel: More Than Just Removing Skin
Peeling an onion might seem like the most straightforward step, but there are nuances. Knowing exactly how much to peel and when you can skip it altogether can save you time and even enhance your dish. Understanding peeling an onion: the right way and when to skip it is an important aspect of mastering this versatile vegetable.
Do You Always Have to Peel Onions?
Not always! While most recipes calling for cut onion require peeling, there are specific instances where the skin is either beneficial or simply irrelevant:
- For Stock: When making homemade vegetable or chicken stock, leave the peel on. The onion skin contributes a beautiful golden color and additional depth of flavor to your broth. Since you'll be straining and discarding the solids anyway, there's no need to peel.
- Roasting Halved Onions: If you're roasting large onion halves, especially on the grill or in the oven, keeping the outer papery layers on can act as a protective barrier. It helps prevent the onion from scorching too quickly, allowing the interior to become wonderfully tender and caramelized. Simply remove the skin before serving.
The Standard Peeling Process: Step-by-Step
For most cooking applications, you'll want to remove the papery outer layers. Here’s the Food Network-approved method for efficient peeling:
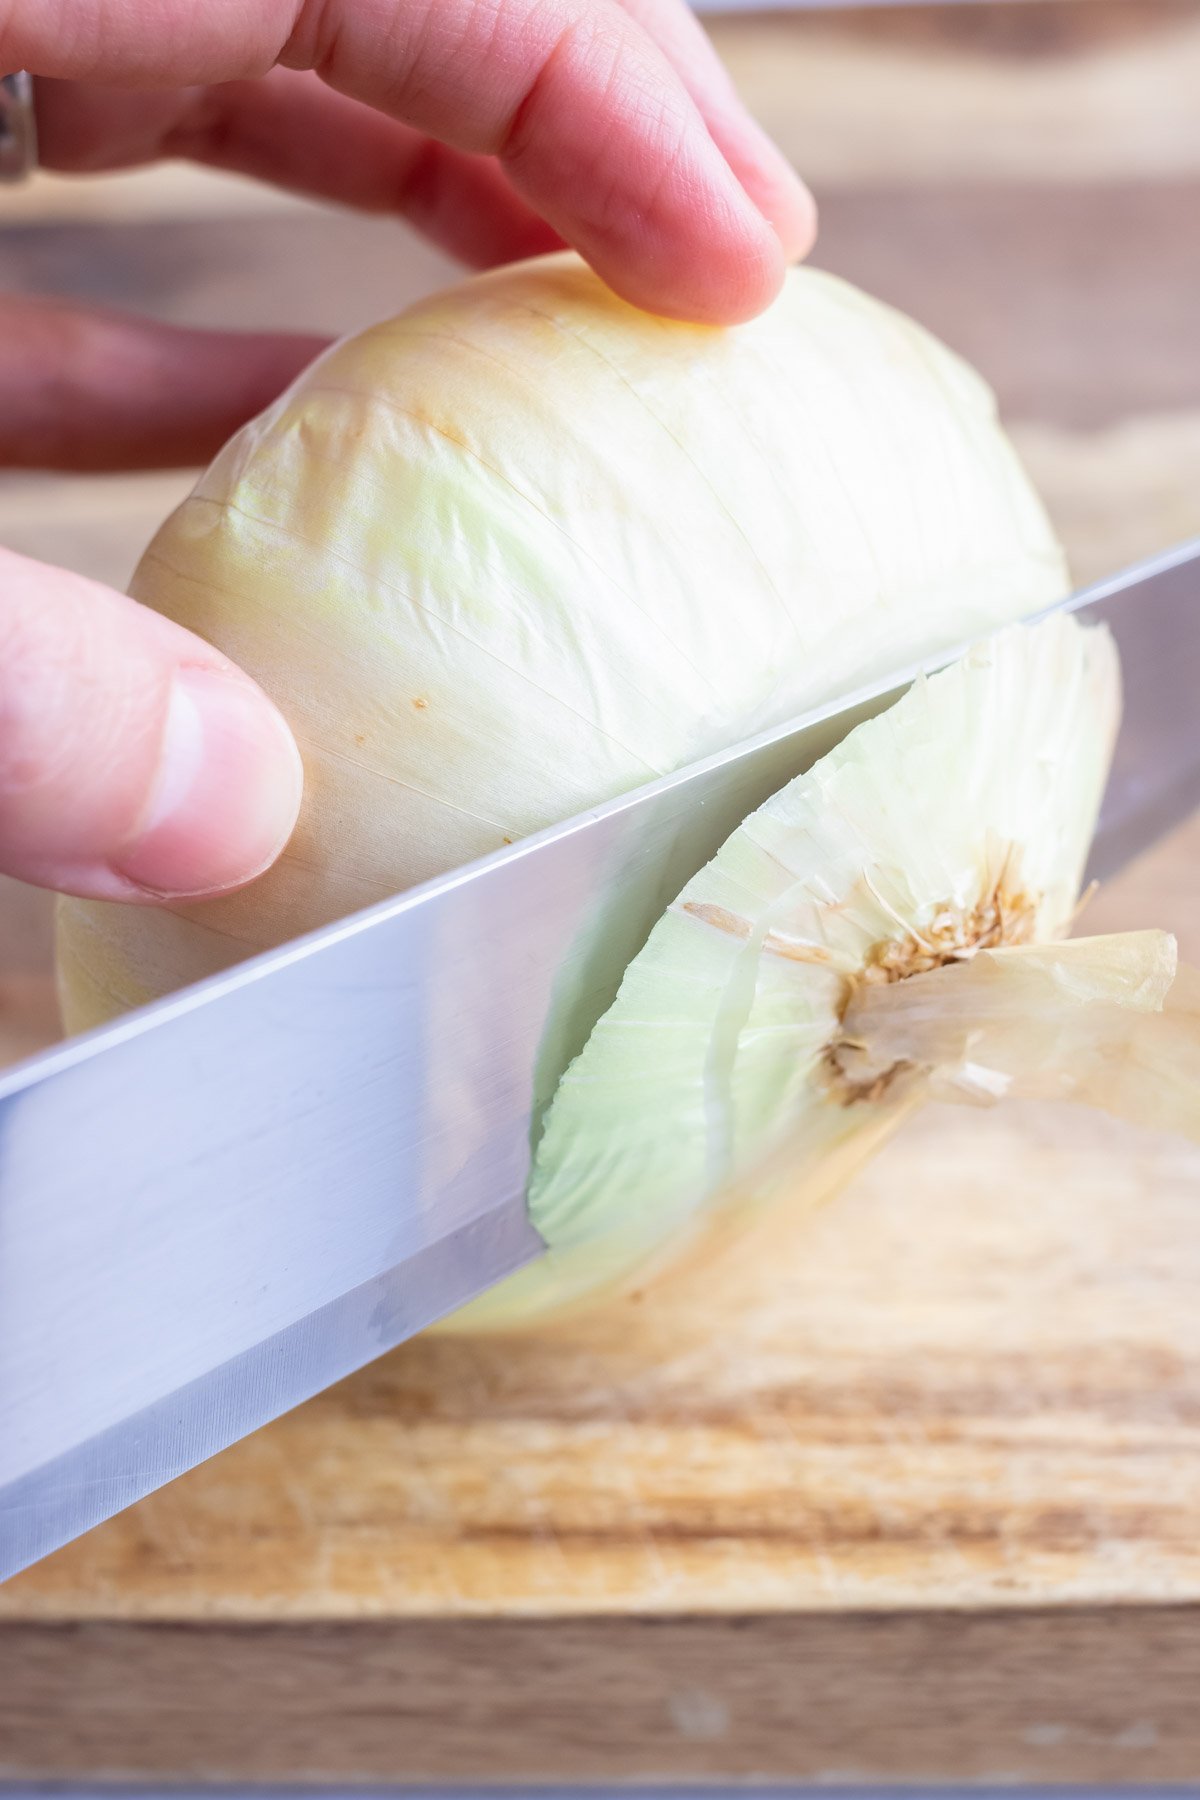
- Trim the Ends: With your sharp knife, carefully cut off the pointy stem end of the onion. This is the part opposite the root. Discard this tip. If the root end looks dirty, trim off just enough to remove the soiled portion, but try to keep as much of the root intact as possible, as it will act as a "handle" for stability during cutting.
- Halve the Onion: Place the onion cut-side down (where you trimmed the stem end) on your cutting board. Cut the onion in half lengthwise, passing through the root end. This exposes the layers, making peeling much easier.
- Remove the Skin: Take one half of the onion. Grasp a corner of the papery outer layer near the stem end (which is now a flat edge). Firmly pull it off. You want to remove only the dry, papery skin and sometimes the very first, slightly thicker, dull-colored layer beneath it. If the skin is stubborn, gently slide the tip of a paring knife underneath it to pry it up. Be careful not to remove any of the large, healthy onion layers, as these are meant for eating!
Peeling both halves at once, even if you only plan to use one, can often streamline the process. With your onion peeled and ready, it’s time to explore the essential cutting techniques.
The Art of the Cut: Slicing, Dicing, and Mincing an Onion
The way you cut an onion can dramatically change its texture, cooking time, and even how its flavor integrates into a dish. Mastering the fundamental cuts – slicing, dicing, and mincing – is crucial for any aspiring chef.
Preparation for All Cuts: The Stable Base
Regardless of the final cut, the initial preparation steps are consistent and crucial for safety and efficiency:
- Peeled Halves: Start with your peeled onion halves, as described above.
- Root End Intact: Keep the root end intact on both halves. This "hairy" end acts as a natural binder, holding the onion's layers together, making it much safer and easier to cut.
- Flat Side Down: Always place the onion half flat-side down on your cutting board. This creates a stable surface, preventing the onion from wobbling.
1. How to Slice an Onion
Onion slices are perfect for dishes where you want longer, softer pieces, such as caramelized onions, stir-fries, fajitas, or as a topping for burgers and salads. Slices can be full rings or half-moons.
- For Rings: If you want full rings, don't cut the onion in half lengthwise initially. Trim the stem and root ends (just enough to remove dirty parts, leaving most of the root intact for stability). Peel the whole onion. Then, place it flat on your cutting board and slice crosswise, from one end to the other, creating rings of your desired thickness.
- For Half-Moons: With your peeled onion half, flat-side down and root end away from you, make parallel cuts from the stem end towards the root, following the natural curve of the onion. The thickness of your slices will depend on your recipe – thinner for quick cooking, thicker for a more substantial bite.
2. How to Dice an Onion
Dicing is perhaps the most common way to cut an onion. Diced onions are the foundation for countless soups, stews, sauces, and sautés, providing a consistent texture and even cooking. The goal is uniform, square-shaped pieces.
- Horizontal Cuts (The Layers): Take one peeled onion half, flat-side down, root end away from you. Carefully make 1-3 horizontal cuts (depending on the desired dice size) through the onion, parallel to your cutting board, stopping just before the root end. These cuts shouldn't go all the way through the root, keeping the onion intact.
- Vertical Cuts (The Strips): Now, rotate the onion so the root end is to your left or right. Make several vertical cuts from the stem end towards the root, again stopping before the root. The spacing of these cuts will determine the width of your dice.
- Perpendicular Cuts (The Dice): Finally, turn the onion so the root end is facing away from you again. Holding the onion firmly with your non-knife hand (using a claw grip for safety), make perpendicular cuts straight down, creating your dice. As you cut, the pre-made horizontal and vertical cuts will separate into uniform squares. Continue until you reach the root end, which you can then chop finely or discard.
Vary the spacing of your cuts for a fine dice (small, close cuts), medium dice, or large dice.
3. How to Mince an Onion
Mincing means cutting into very tiny, almost paste-like pieces. Minced onions melt into dishes, providing flavor without noticeable texture. It’s ideal for dressings, marinades, delicate sauces, or when you want the onion to disappear into the background.
- Method 1 (From Diced): Start by dicing the onion as described above, aiming for a fine dice. Then, gather the diced onion into a pile on your cutting board and run your knife repeatedly through it, chopping and rocking, until the pieces are as small as desired.
- Method 2 (Pre-Mincing): After making your horizontal and vertical cuts (for dicing), simply chop very finely straight down, then gather and chop again until minuscule.
Practice is key! The more you cut an onion, the more confident and efficient you'll become with each technique.
Storing Leftover Cut Onions
Sometimes you only need half an onion, or you've prepped more than you need. Proper storage is essential to keep cut onions fresh and prevent their strong aroma from permeating your fridge.
- Airtight Container: The best way to store cut onions, whether sliced, diced, or minced, is in an airtight container or a resealable bag. This prevents oxidation, which can lead to spoilage, and contains the pungent odor.
- Refrigeration: Store cut onions in the refrigerator for up to 7-10 days. While they might lose a little of their crispness over time, they will remain perfectly good for cooking.
- Whole Leftovers: If you only used half an onion, cover the cut surface of the remaining half tightly with plastic wrap before refrigerating. This helps prevent it from drying out and minimizes odor.
Conclusion
Mastering how to cut an onion is a foundational skill that elevates your cooking and makes your time in the kitchen much more enjoyable. By adopting Food Network's proven tear-free methods – a sharp knife and a quick chill in the freezer – you can banish those stinging eyes forever. Beyond that, understanding how to properly peel, slice, dice, and mince an onion opens up a world of culinary possibilities, allowing you to tailor your preparation to any dish. With a little practice and these expert tips, you'll soon be chopping onions like a seasoned pro, ready to build incredible flavor into all your favorite meals.
