The Gateway to Culinary Excellence: Mastering How to Cut an Onion
Let's be honest, few kitchen tasks evoke as much dread and watery eyes as chopping an onion. Yet, this humble allium is the foundational aromatic for countless dishes around the globe, from hearty stews and vibrant stir-fries to delicate sauces and fresh salads. Mastering how to cut an onion isn't just about avoiding tears; it's about efficiency, safety, and unlocking the full flavor potential of your ingredients. Forget the haphazard hacking and fumbling that leaves you with uneven pieces and a stinging sensation. With the right techniques and a few clever tricks, you'll transform this dreaded chore into a swift, satisfying step in your cooking process. This comprehensive guide will walk you through the essential preparation, the three most common and versatile cuts – slicing, dicing, and mincing – and, crucially, how to keep those pesky onion tears at bay. Get ready to elevate your kitchen confidence and enjoy perfectly prepared onions every time.The Essential First Steps: Peeling and Prepping Your Onion
Before you can master the art of slicing and dicing, proper preparation is key. This initial stage ensures you have a stable, clean canvas to work with and sets you up for success with subsequent cuts.Initial Trim and Halving
The first step is to prepare the onion for peeling. Start by placing the onion on a stable cutting board.- Trim the Pointy Tip: Carefully cut off the non-root, pointy end of the onion. This end is often referred to as the stem end. Discard this small piece.
- Address the Root End: The root end is crucial for holding the onion together during dicing, so only trim it if absolutely necessary. If it's dirty, shave off just enough to remove the grime, ensuring the base remains largely intact. Wipe your knife clean if any dirt transfers.
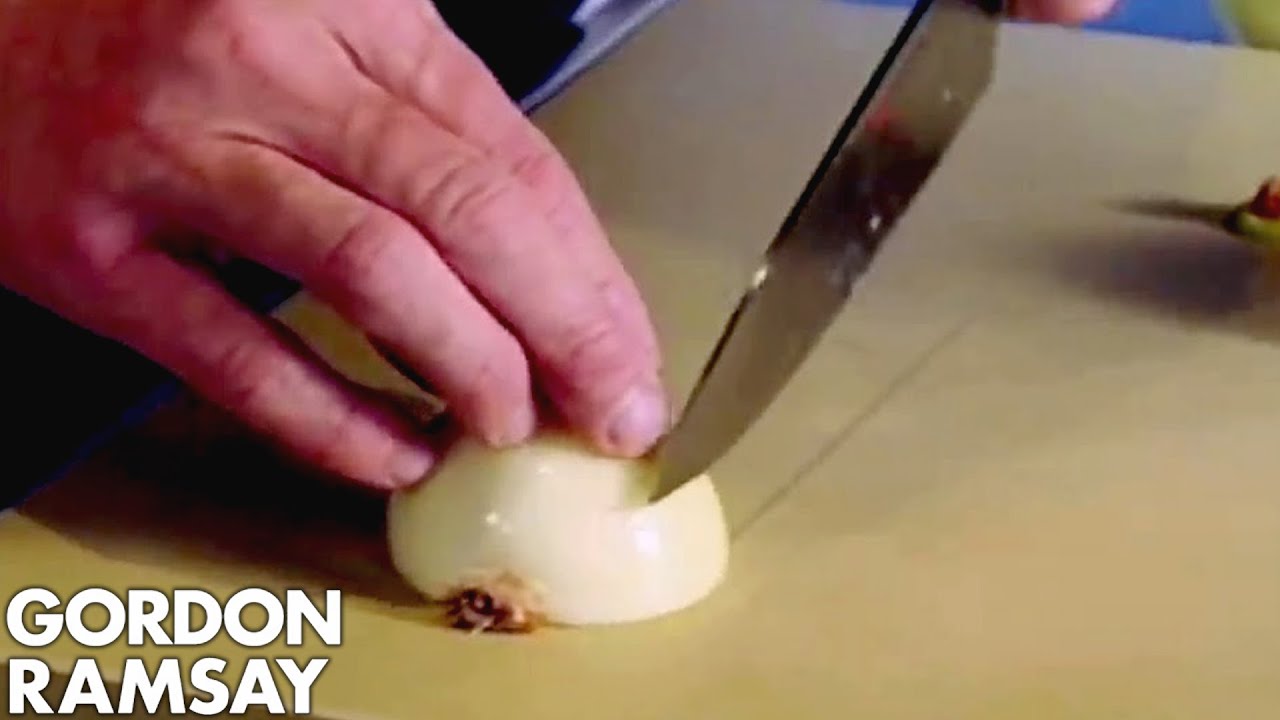
- Halve Lengthwise: Place the onion cut-side down on your board for stability. Now, cut the onion in half lengthwise, passing your knife directly through the center of the root end. You should now have two distinct halves, each with a flattened cut surface.
Effortless Peeling Techniques
Peeling an onion might seem straightforward, but a few tricks can make it significantly easier.With both halves of the onion now exposed, it's time to remove the papery outer layers. Even if you only plan to use one half immediately, peeling both now will save time and effort later. Grasp a corner of the papery skin near the tip end of one onion half. Firmly pull it back and away. The goal is to remove only the dry, papery layers, leaving the moist, edible flesh intact. If the skin is stubbornly tight, try gently sliding the tip of a paring knife underneath a corner to pry it up. Be careful not to remove any of the larger, edible onion layers beneath the papery skin.
When to Skip the Peel: While most recipes require peeled onions, there are exceptions. If you're making stock or broth, the skin adds valuable color and depth of flavor, and you'll be discarding the solids anyway. Similarly, when roasting halved onions, leaving the peel on can protect the onion from scorching and help it retain moisture. For a deeper dive into peeling best practices, explore our guide on Peeling an Onion: The Right Way and When to Skip It.
Mastering the Core Cuts: Slice, Dice, and Mince
With your onion prepped and peeled, it's time to dive into the specific cuts. Each technique yields a different shape and size, suited for various culinary applications.How to Slice an Onion
Onion slices are perfect for adding texture and flavor to dishes where the onion's shape is desired, such as burger toppings, salads, or stir-fries. They can also be sautéed to make beautiful caramelized onions.- Orientation: Place one peeled onion half cut-side down on your cutting board. For traditional half-moon slices (like those you'd caramelize or add to a stir-fry), position the onion so the root end is farthest from you.
- Consistent Slices: Using a sharp knife and a steady hand, begin making parallel cuts from the tip end towards the root end. Keep your cuts evenly spaced to ensure uniform slices.
- Root End Integrity: Continue slicing until you reach the root end. The root acts as a natural binder, holding the slices together until the very last cut, which makes for safer and easier work. Discard the small root piece at the end.
Expert Tip: For full onion rings (great for onion rings or a dramatic burger topping), instead of cutting the onion in half lengthwise, simply trim both ends and peel. Then, place the whole onion on its side and make parallel cuts from one end to the other. The rings will naturally separate.
How to Dice an Onion
- Initial Halving and Positioning: Start with a peeled onion half, cut-side down. Place it on your cutting board so the root end is closest to you (or to your non-knife hand). This orientation helps maintain stability.
- Horizontal Slices: Carefully make 2-3 horizontal cuts parallel to the cutting board, starting from the side closest to you and moving towards the root end, but not cutting all the way through the root. Imagine you're slicing layers within the onion. The number of cuts depends on the size of the onion and your desired dice size (more cuts for finer dice). Keep your fingers tucked in a "claw" grip over the onion for safety.
- Vertical Slices: Now, rotate the onion so the cut side is facing you. Make several vertical cuts, again from the top down towards the root, but stopping just short of cutting through the root. These cuts should be evenly spaced and perpendicular to your horizontal cuts. The spacing of these cuts will determine the width of your dice.
- Perpendicular Dicing: Finally, turn the onion so the root end is away from you. Make vertical cuts perpendicular to your previous cuts, passing all the way through the onion layers this time. As you cut, perfectly diced onion pieces will fall away. Continue until you reach the root end, discarding the small remaining root piece.
How to Mince an Onion
Mincing takes dicing a step further, resulting in very fine, almost paste-like pieces. This cut is ideal when you want the flavor of onion without its prominent texture, such as in dressings, raw preparations like salsa, or delicate sauces where it should dissolve almost entirely.To mince an onion, follow the same initial horizontal and vertical cutting steps as dicing. However, make your cuts much closer together to create smaller segments. Once you've made your horizontal and vertical cuts, and the diced pieces are falling away, gather the finely diced onion. Then, using a rocking motion with your knife, repeatedly chop over the pile, moving your knife through the onion until it reaches your desired minced consistency. Ensure your knife is sharp for the best results, as a dull knife will bruise the onion rather than cut it cleanly.
Conquer the Tears: Proven Methods to Stop Crying
The burning sensation and involuntary tears are arguably the most unpleasant part of cutting onions. While the internet is rife with quirky (and often ineffective) tips – from lighting matches to chewing gum – we've found two scientifically sound methods that truly work to minimize or eliminate onion tears. For even more strategies, dive into How to Cut Onions Without Tears: Food Network's Best Tips.The Sharp Knife Advantage
This is perhaps the simplest and most effective tip: use a really sharp knife. When you cut an onion, you break open its cells, releasing sulfur compounds and enzymes. When these mix, they produce syn-propanethial-S-oxide, a volatile gas that irritates your eyes. A dull knife crushes and tears more cells, releasing significantly more of these tear-inducing compounds into the air. A razor-sharp knife, on the other hand, makes clean, precise cuts, rupturing fewer cells and minimizing the release of the irritant. Not only will this reduce tears, but it also makes the job faster and safer.The Freezer Trick
Another highly effective method is to chill your onion before cutting. Place the whole, unpeeled onion in the freezer for about 10-15 minutes prior to slicing or dicing. The cold temperature slows down the enzymatic reactions that produce the tear-causing compounds. This simple step won't alter the onion's flavor or texture once cooked, but it significantly reduces the amount of irritant released into the air, giving your eyes a much-needed break.Advanced Tips for Onion Cutting Mastery
Beyond the basic cuts and tear prevention, a few extra tips can enhance your overall onion-cutting experience and kitchen safety.- Maintain a Stable Board: Always place a damp paper towel or a non-slip mat under your cutting board to prevent it from sliding, especially when working with round, sometimes slippery onions.
- The Claw Grip: When cutting, always curl your fingertips under, forming a "claw" over the onion. Your knuckles should guide the knife blade, keeping your precious fingertips safely out of harm's way. This fundamental knife skill is essential for all cutting tasks.
- Ventilation is Your Friend: If possible, cut onions near an open window or under a kitchen exhaust fan. Improved air circulation can help disperse the irritating compounds before they reach your eyes.
- Proper Storage of Cut Onions: If you have leftover cut onion, store it in an airtight container in the refrigerator. This will keep it fresh for 3-5 days and prevent its strong odor from permeating other foods.
- Choose the Right Onion: Different types of onions suit different purposes. Yellow onions are versatile and great for cooking. Red onions are milder and beautiful raw in salads. White onions are often sharper and used in Mexican cuisine. Understanding these nuances adds another layer to your culinary skills.
